PSD Rigging
SkelForm supports importing Photoshop Document (PSD) files to turn into an armature. To do this, a specific structure is needed.
Table of Contents
Sample File
A sample PSD file may be downloaded to be kept as a reference, and will automatically form a proper rig when imported in SkelForm.
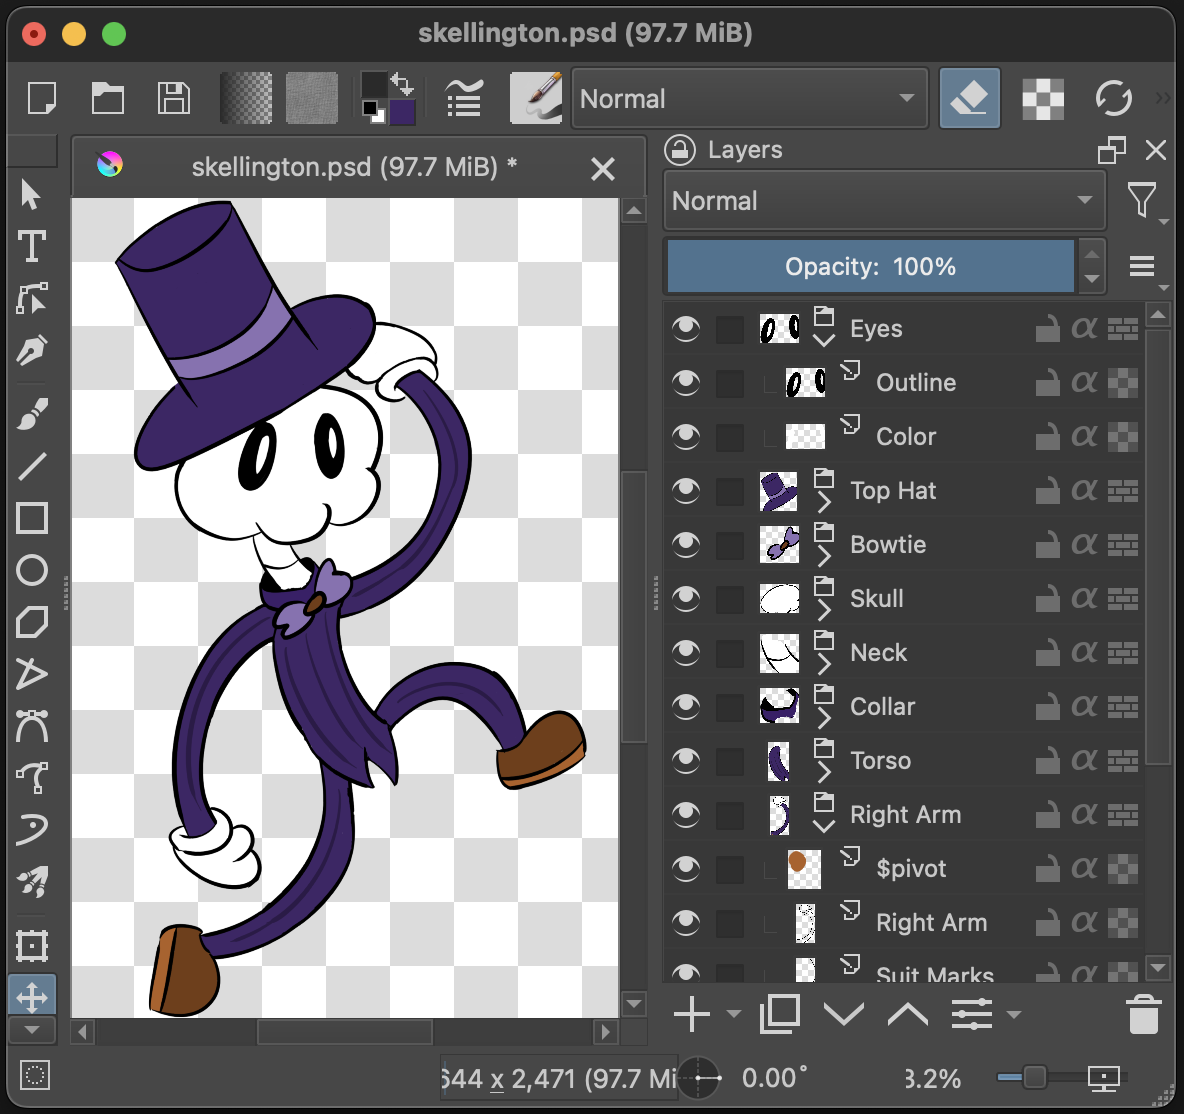
Group > Bone, Layer(s) > Texture
Bones are made out of groups, and all layers of a group will be merged to form it’s texture:
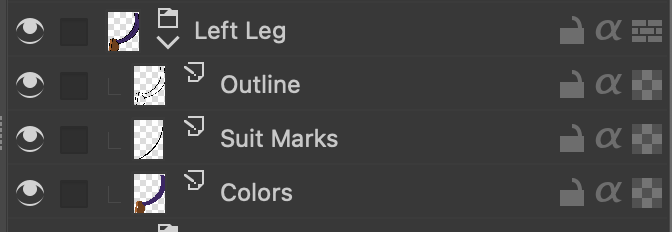
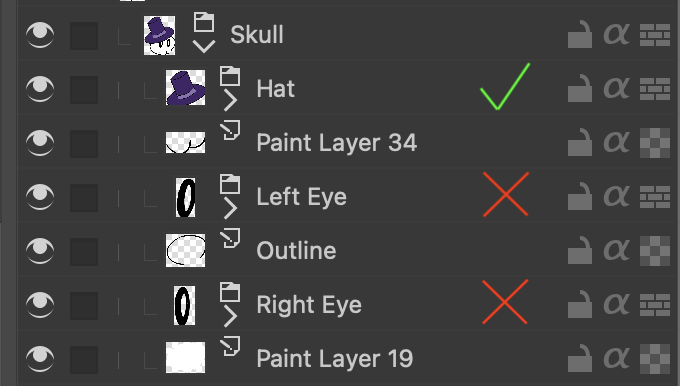
Child Bones
Groups in groups will be children, however they must be first in the hierarchy. Groups after a layer will be ignored.
Pivots
By default, bones created from groups will not have a dedicated pivot parent, and will be centered.
To add a dedicated pivot, create a layer specifically named $pivot, and make it a child of the group in question. The pivot’s position will be based on the top-left corner of the layer:
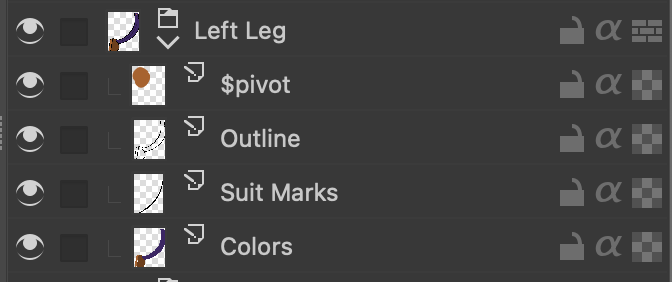
Although this layer will be invisible in the rig, you may need to draw on it to be able to position it in your art program.
When importing the PSD, that group should now be comprised of 2 bones: the main bone (pivot), and the texture. From here on out, it is recommended to only edit the main bone.
Inverse Kinematics
See: Inverse Kinematics
Layers starting with $ik_ will be used to set IK properties to their
respective bones.
Family id format: $ik_X
Examples:
-
$ik_0 -
$ik_1
Constraints:
-
$ik_clockwise -
$ik_counterclockwise
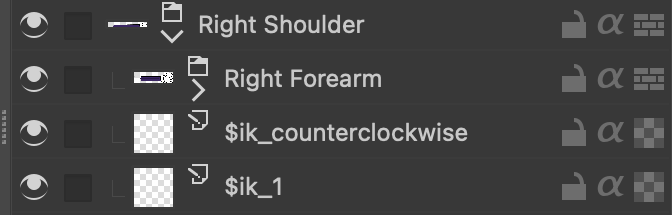
Once imported, a target bone will be automatically generated and assigned.